
That's a pretty big hole. It's really more of a chasm. Ok, maybe I'm being a little over dramatic. Still, with the rain that we've been having, Jared has been working almost every evening to get this wall fixed up.

It was strange to view the bathroom from this angle.

The support beam under the window had enough damage that Jared needed to replace a portion of it. Being a cause for future structural problems, it was imperative that this job was done correctly. Jared got some good advice from a local carpenter before starting on the project.

Going back inside, Jared had managed to completely tear up the sub floor. I think I took this picture on a later day, though, because at the base of the wall opening, you can see the new beam that Jared installed! Woohoo! This was the start of the rebuilding process, so it was a pretty big deal.

The next step was framing the wall/window and rebuilding the exterior wall itself. Though he knew the theory behind setting a window, Jared had never actually done it before, so this was partially new territory for him.

I wasn't able to take pictures, so this and the previous photo were taken by Jared. He managed to paint the exterior in a day, and the finish looks great!

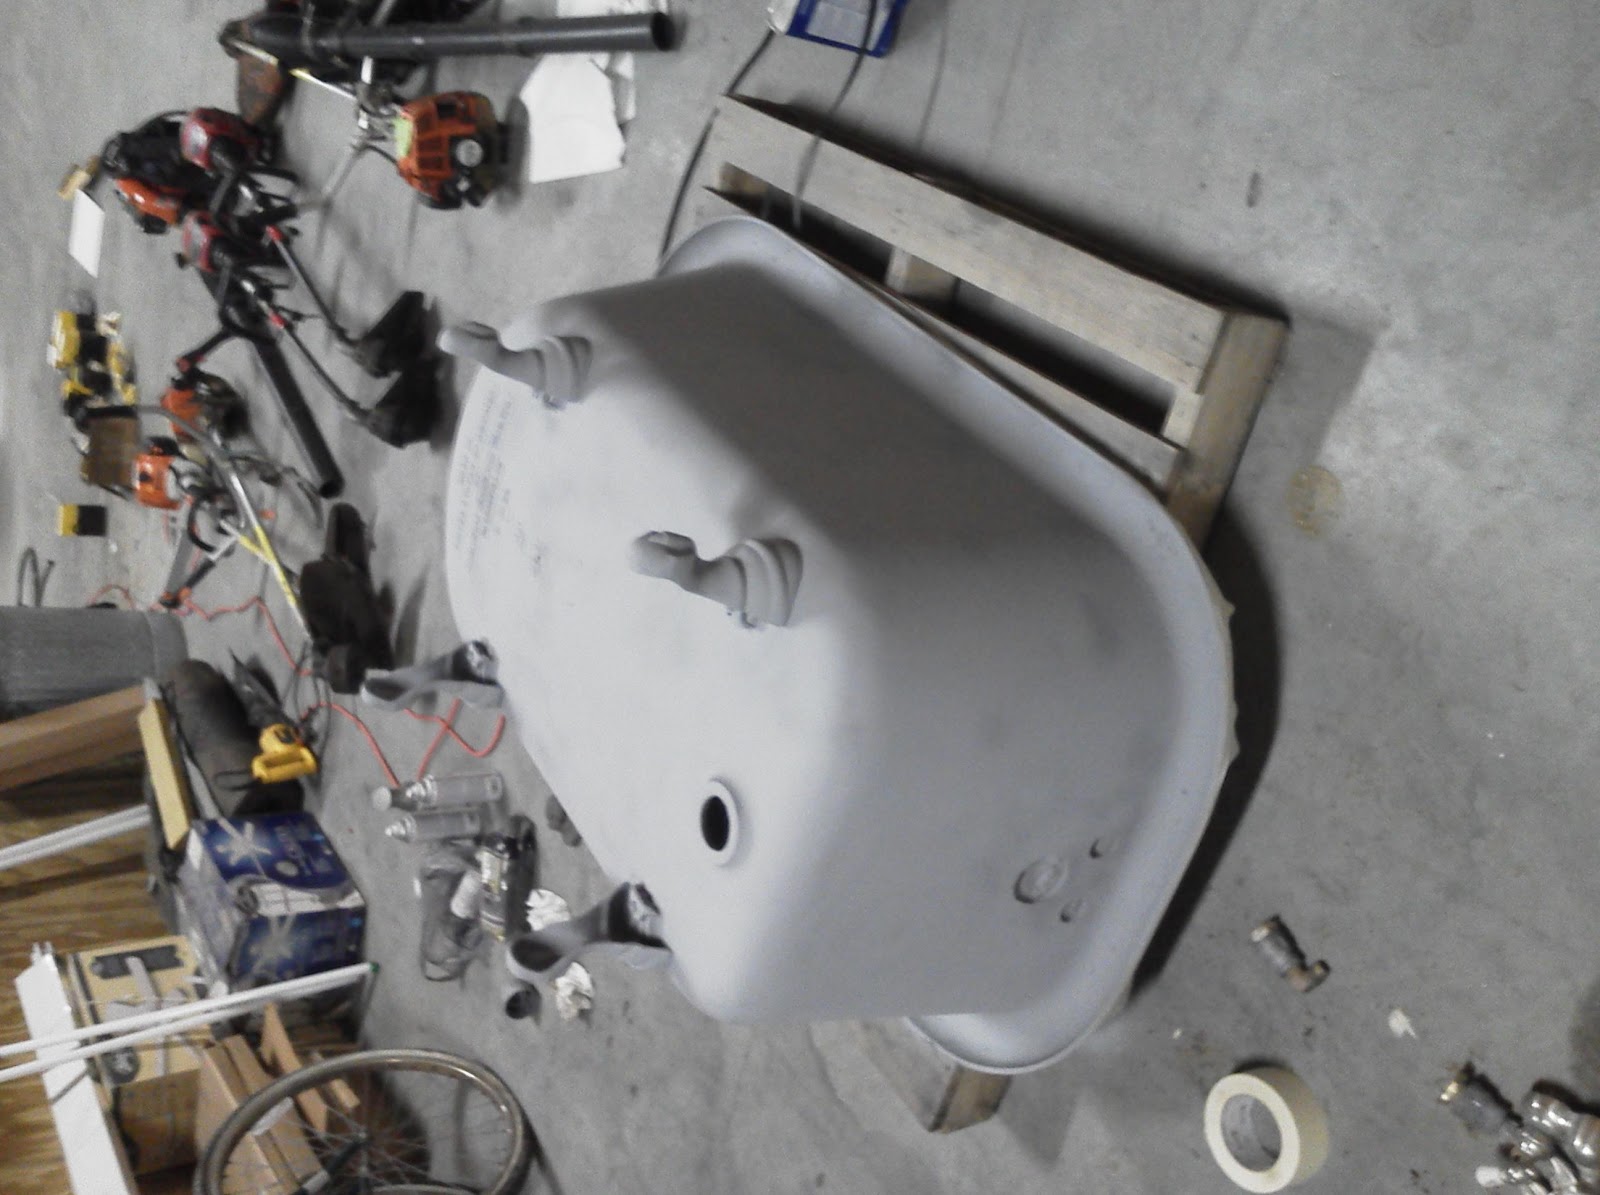
On Saturday, we decided to tackle the inside of the tub. This was the first time I had seen the thing since being sandblasted. I was blown away by the transformation! The color was great, and the FEET! They're amazing!

The tub looked great on the outside, but Jared and I were a little wary about the inside. We found a refinishing kit at Lowe's, but the instructions were quite complicated and slightly intimidating.

Though in fairly good shape, the porcelain finish had a few issues. At one point in time, it must have been resting on the rim in a semi-wet environment. A ring of discoloration ran around most of the rim.

The drain was one of the more damaged parts of the tub. Luckily, there wasn't any chipping of the porcelain, which is a more difficult problem than just a little discoloration.

And then there were a few other spots that needed attention. I'm just glad that the glaze itself wasn't chipped terribly, as that would require a very expensive reglazing process.


And it looks BEAUTIFUL!!! I was amazed at the transformation. The finish required 72 hours to fully dry, provided the humidity and temperature are favorable, so it's still sitting in the garage at Jared's work. Hopefully, it gets to come home soon and has a place to live as well!

Jared and I are both very pleased with the way it turned out. The best part is, now we know the basic process of refinishing an old tub like this. I'm really glad we found this gem, and I really think it will be a great piece for the bathroom.

Which brings me back to this! Jared impressed me again in his ability to get things done. After only a few weeks, the exterior wall was fixed, the wall studs were framed, and the window was almost set. Though not completely finished, I know that this is a big step towards finishing the bathroom. Jared has done such a great job, and I know he can pretty easily do the rest of the project from here on out.
I'm increasingly exited to move along with this bathroom. The finished product should be very nice! Hopefully it won't take too much longer to get this whole thing done, we are definitely on a deadline.
No comments:
Post a Comment